Your First Loaf: A Beginner's Guide to Baking Bread at Home
The first loaf you bake at home will probably be a little lopsided, and it will still taste better than anything from the supermarket shelf. Bread is four ingredients and a set of cues your hands pick up faster than any recipe can explain. Work through this once, and you'll finish with a plain white loaf, an understanding of what the dough should be doing at each stage, and enough confidence to bake it again next weekend without reading every line.
Start With Four Ingredients
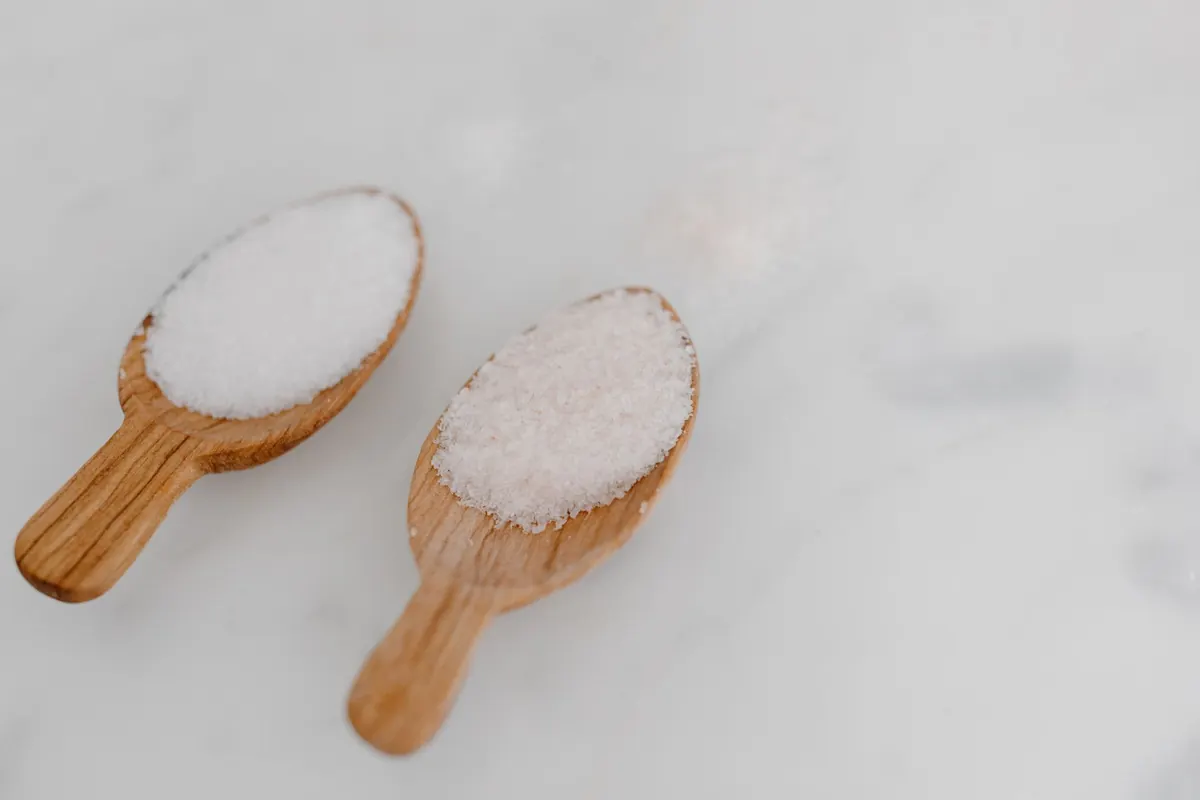
Flour, water, yeast, salt. That's the whole list. Bread flour gives you more chew and a taller rise because it contains more protein; all-purpose flour works perfectly well and produces a slightly softer crumb. Use lukewarm water — comfortable on your wrist, roughly 30°C to 35°C. Too hot and you'll kill the yeast before it starts working.
Salt is not optional. It seasons the loaf, but it also tightens the gluten and slows fermentation so the dough has time to develop flavour. Skip it and you get a pale, bland bread that rises too fast and collapses.
For equipment, you need less than you think:
- A large mixing bowl, around four litres
- A digital kitchen scale — weighing flour instead of scooping it by volume is the single biggest fix for inconsistent loaves
- A wooden spoon, plus a clean worktop or a stand mixer with a dough hook
- A 23 x 13 cm loaf pan, or a baking sheet lined with parchment
- A tea towel or cling film to cover the bowl
- An instant-read thermometer, if you have one — helpful, not essential
Yeast, Explained Without the Jargon
Yeast is a living organism. It eats sugars in the flour and releases carbon dioxide, and the stretchy gluten network you build by kneading traps that gas as bubbles. That's the entire mechanism behind a risen loaf.
Instant yeast can be stirred straight into the flour. Active dry yeast works better after a five-minute soak in a little of the lukewarm water with a pinch of sugar — if it turns creamy and starts to foam, it's alive and ready. If nothing happens after ten minutes, the yeast is dead and no amount of kneading will save the loaf. Buy a fresh pack.
One detail that trips up new bakers: keep salt and yeast apart in the bowl until the water goes in. A pile of salt sitting directly on yeast can slow it down noticeably.
Mixing and Kneading
Stir everything together until you have a shaggy, uneven mass with no dry flour left at the bottom. Then walk away for fifteen minutes. This rest, sometimes called autolyse, lets the flour hydrate fully and makes the dough noticeably easier to handle.
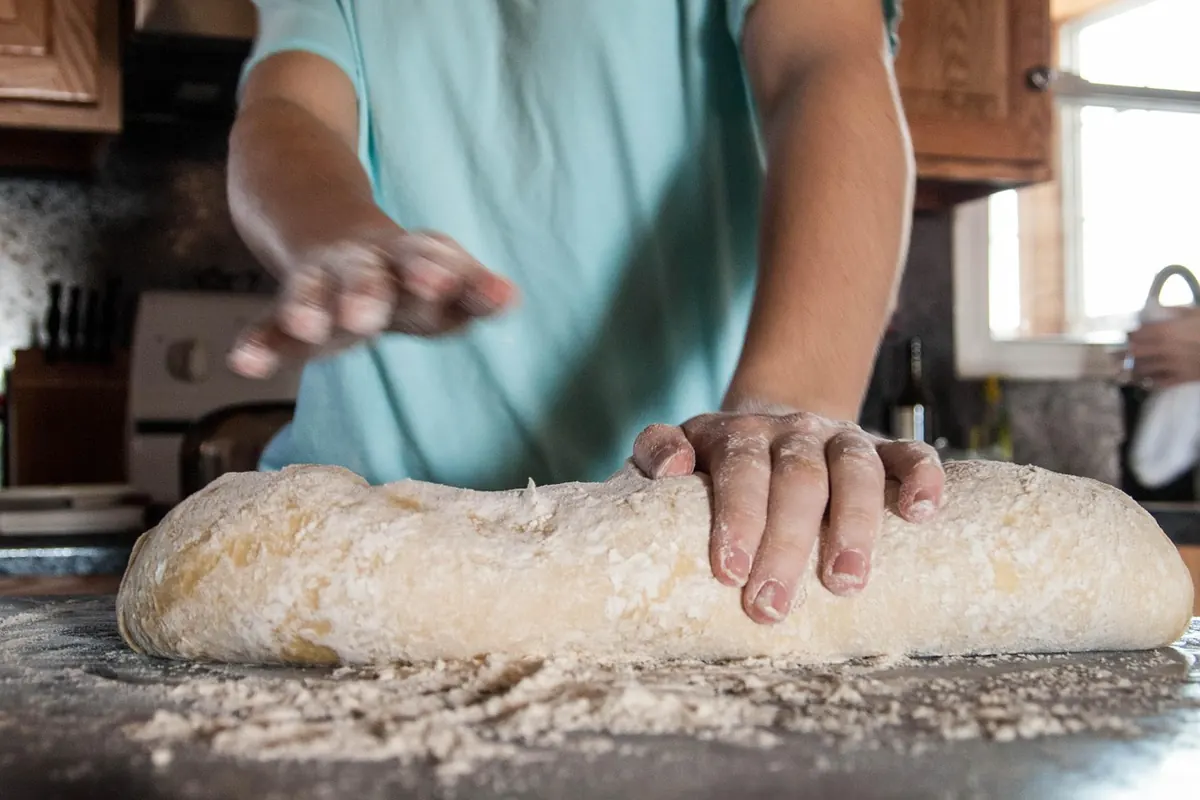
Now knead. Push the dough away with the heel of your hand, fold it back over itself, give it a quarter turn, repeat. Eight to ten minutes by hand is usually right. You're watching for a change in texture: it starts sticky and slack, then becomes smooth, springy and only slightly tacky. If you're using a mixer, keep it on low to medium and stop when the dough clears the sides of the bowl.
The windowpane test
Pinch off a golf-ball-sized piece and stretch it gently between your fingers. If it stretches thin enough to let light through without tearing, the gluten is developed and you can stop. If it rips immediately, knead another two minutes and try again.
Resist the urge to keep dusting with flour. A wetter dough gives you a more open crumb; flour your hands and your scraper instead of the dough itself.
Proofing: Watch the Dough, Not the Clock
Put the dough back in a lightly oiled bowl, cover it, and leave it somewhere draught-free. Recipes say one to two hours, but the honest measure is volume: you want it roughly doubled, looking puffed and slightly domed.
Use the poke test. Flour a finger and press about two centimetres into the dough. If the indent fills back slowly and only partly, it's ready. If it springs back instantly, it needs longer. If the hole stays put and the dough looks deflated and sour-smelling, it's gone too far — punch it down, shape it, and bake it anyway. Overproofed bread is flatter and denser, but it's still bread.
Cold kitchens slow everything down. An oven switched off with just the light on, or a bowl of hot water set beside the dough, will keep things moving.
Shaping and the Final Rise
Tip the dough onto a lightly floured surface and press it into a rough rectangle, deflating the big bubbles. Fold the left third into the middle, then the right third over that, like folding a letter. Now roll it up from the short end into a tight log and pinch the seam closed.
Place it seam-side down in a greased loaf pan. Cover and leave it for another 45 to 60 minutes, until the dough has crowned roughly two and a half centimetres above the rim and springs back slowly when pressed. Free-form loaves on a baking sheet should spread outward rather than upward — that's normal.
Baking: Heat, Steam, and the Sound of Done
Preheat the oven to 220°C (425°F) for at least twenty minutes before the loaf goes in. A fully heated oven gives you the initial burst of rise called oven spring.
Steam in the first ten minutes keeps the crust soft long enough for the loaf to expand. Toss a few ice cubes into a metal pan on the lower rack, or mist the oven walls with water before closing the door — quickly, and standing back from the heat.
Bake for 30 to 35 minutes. The loaf is done when the crust is deep golden brown and an instant-read thermometer pushed into the base reads about 96°C to 99°C (205°F to 210°F). No thermometer? Turn the loaf out of the pan and tap the bottom. A hollow drum sound means it's baked through.
One loaf, timed
- Weigh 500 g bread flour, 350 g lukewarm water, 7 g instant yeast and 10 g fine salt.
- Mix to a shaggy mass, then rest 15 minutes.
- Knead 8–10 minutes, until smooth and elastic.
- Cover and proof 1–2 hours, until doubled.
- Shape into a log, place in a greased pan, proof 45–60 minutes.
- Bake at 220°C (425°F) for 30–35 minutes.
- Cool on a rack for at least an hour before slicing.
That last step is the hardest one. Cutting warm bread smears the crumb and gives you a gummy slice, even when the loaf is perfectly baked underneath.
Keep Baking: What to Do When It Goes Sideways
If the loaf came out dense, the dough probably needed a longer proof or a longer knead — note which and adjust next time. If it rose and then sank in the middle, it overproofed. If the crust is pale and soft, give it five more minutes. None of these are failures; they're information.
Bake the same recipe three weekends in a row before changing anything. You'll start to recognise the feel of properly kneaded dough and the smell of a loaf close to ready, and those instincts will carry over to every bread you make after this one.
Photo: MorningbirdPhoto / Pixabay